Write a post, add images and a summary, then include it in your published website. This guide starts after you have enabled the blog.
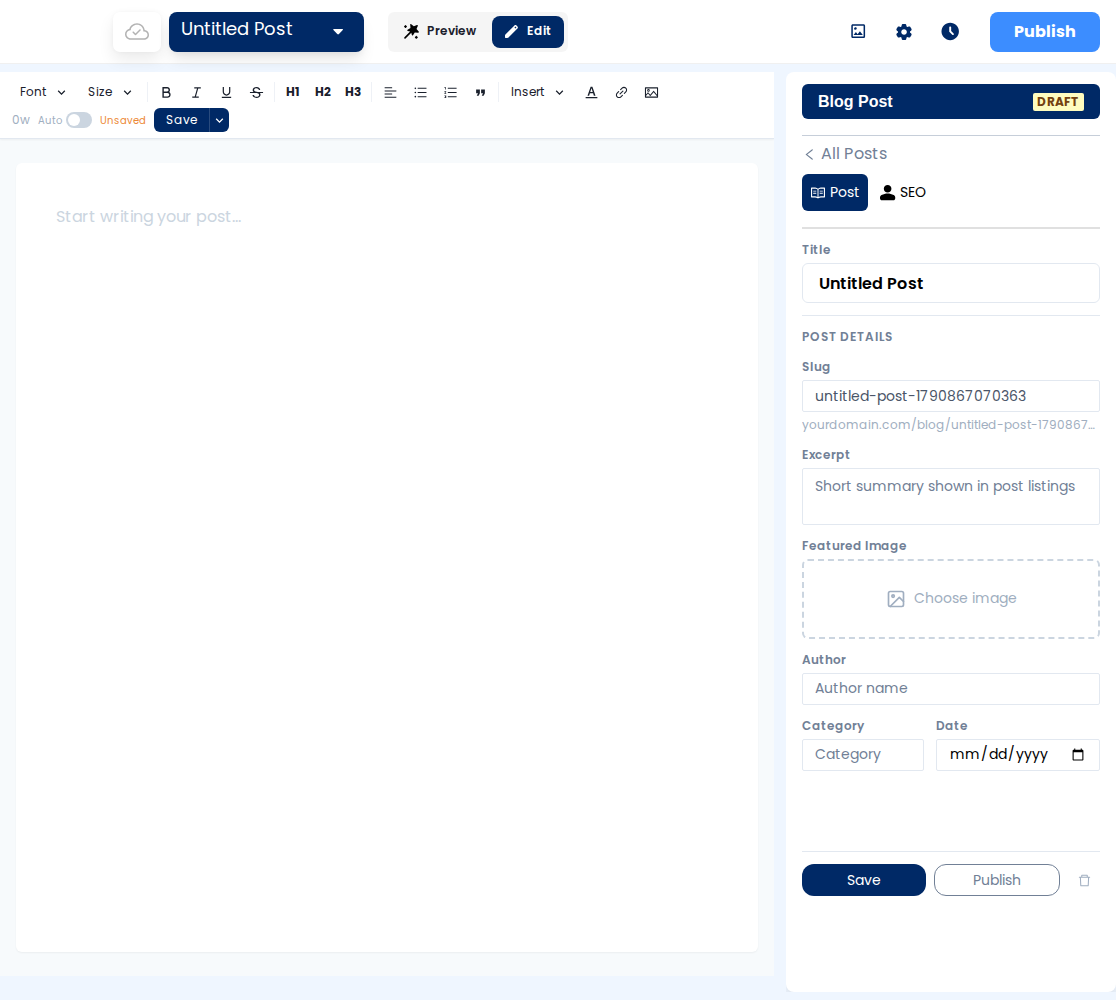
Open or create a post
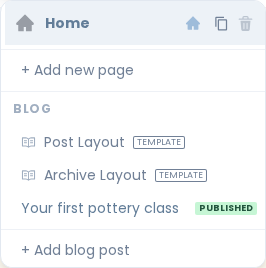
- Open the page-name menu at the top of the editor.
- Under Blog, select + Add blog post. To edit an existing post, select its title instead.
- Check that the editor opens an Untitled Post with Draft status.
Find an existing post
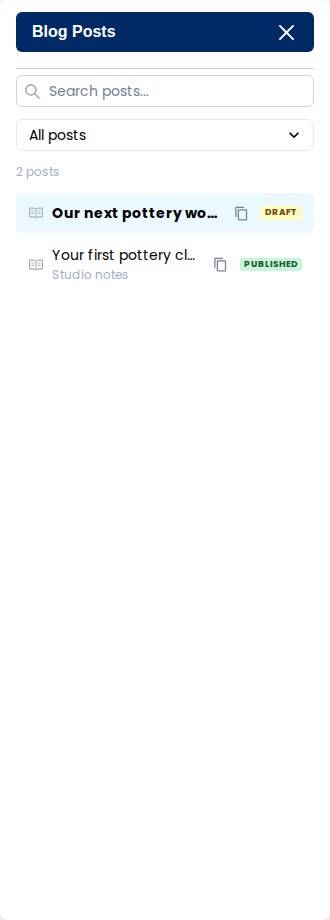
- Select All Posts in the post panel.
- Use Search posts…, or select All posts, Published, or Drafts.
- Select the post you want to open. The page-name menu also shows View all posts when there are more than three posts.
Write and format the content
The main canvas is the post body. The panel on the right holds the title, URL, summary, and other post details.
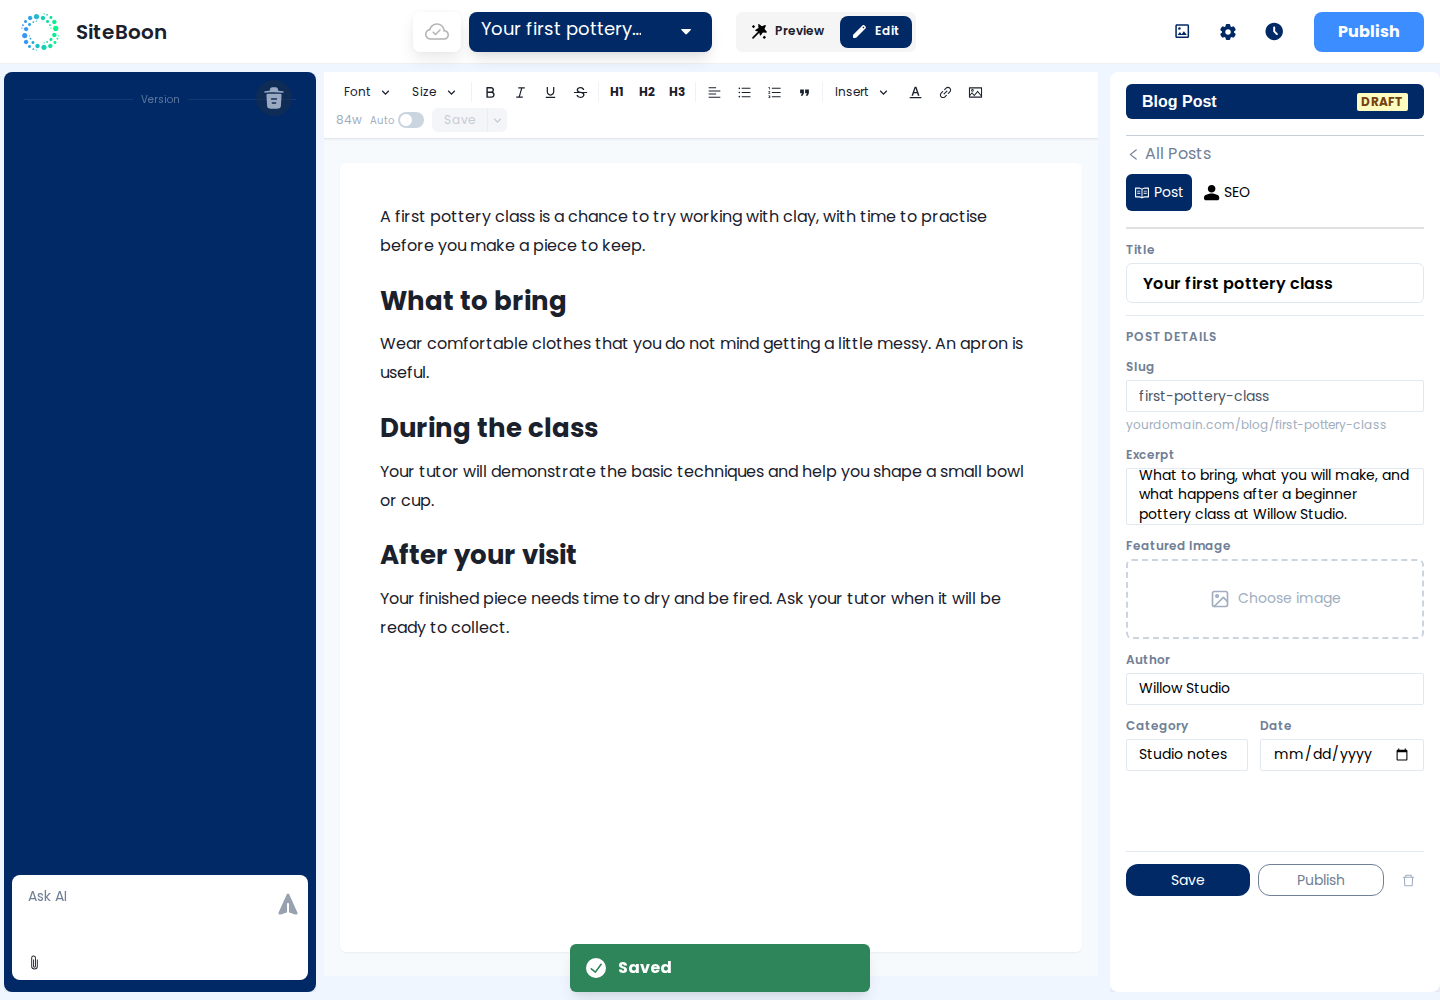
- Headings: place the cursor in a section heading and select H2. Use H3 for a subsection. The post title is entered separately.
- Emphasis and lists: select text for bold or italic, or use the bullet and numbered-list controls for a list.
- Links: select the words to link, select the chain-link control, and enter the destination address.
- Other content: open Insert for options such as a table, code block, or divider.
Save the article body
- Select Save in the formatting toolbar. To keep a separate history entry, open its arrow and select Save as new version.
- Wait for saving to finish before changing post details or switching posts.
- If you want automatic body saves, turn on Auto. It saves pending body changes every five seconds.
Add images
An image inside the article
- Place the cursor where the image should appear.
- Select the picture control, labelled Image, in the formatting toolbar.
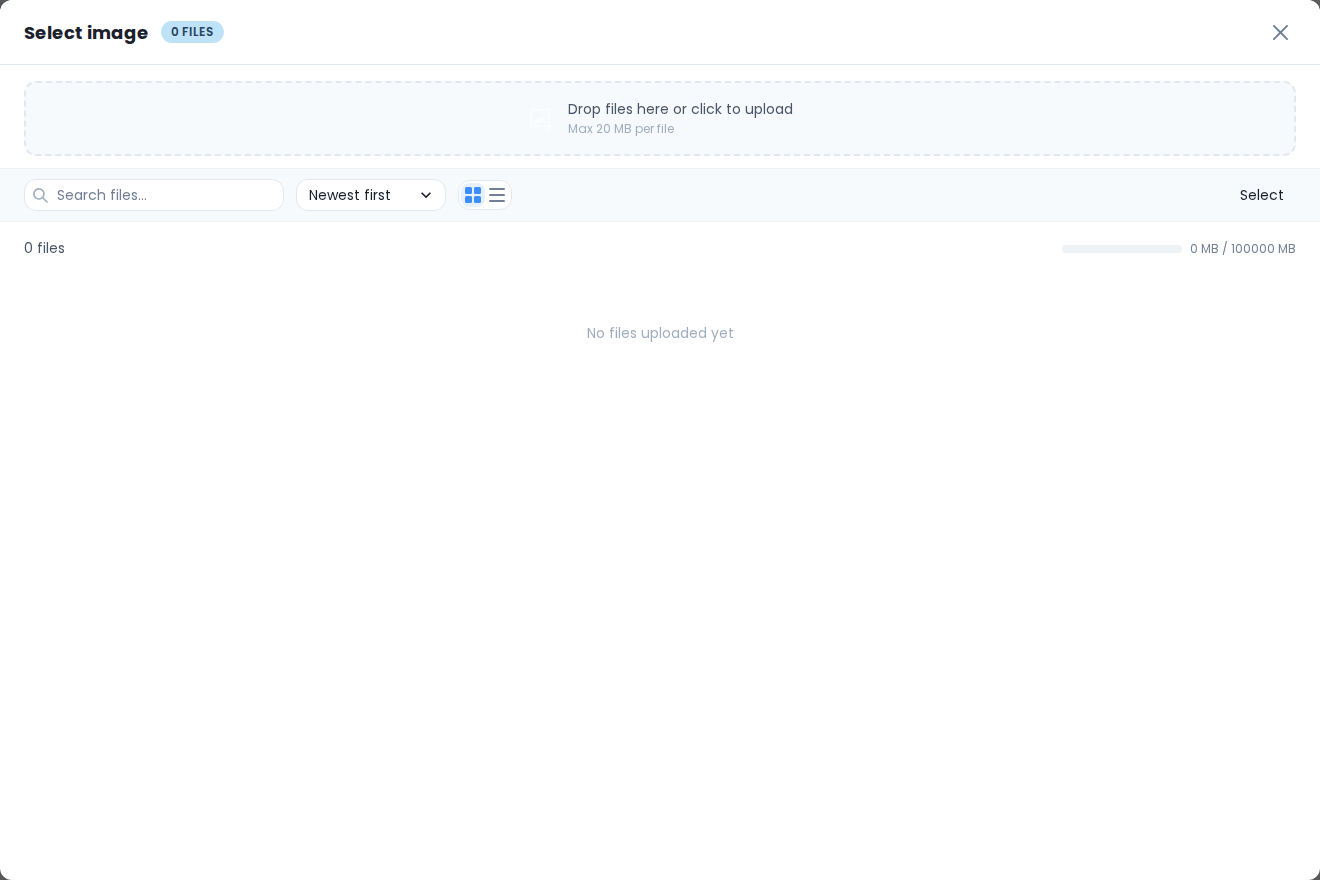
- In Select image, upload a file or choose one already in the site's media library, then select Select.
- Select the inserted image to choose a width: S (25%), M (50%), L (75%), or Full (100%). Save the post body.
A featured image for listings
- Open the Post tab on the right.
- Under Featured Image, select Choose image.
- Choose a file in the media library, then select Select.
- Select Save at the bottom of the post panel.
The featured image is separate from images in the body. It appears where the archive or post layout includes a featured-image field.
Set the post details
- Save the article body first.
- Open the Post tab on the right and complete the fields below.
- Select Save at the bottom of that panel.
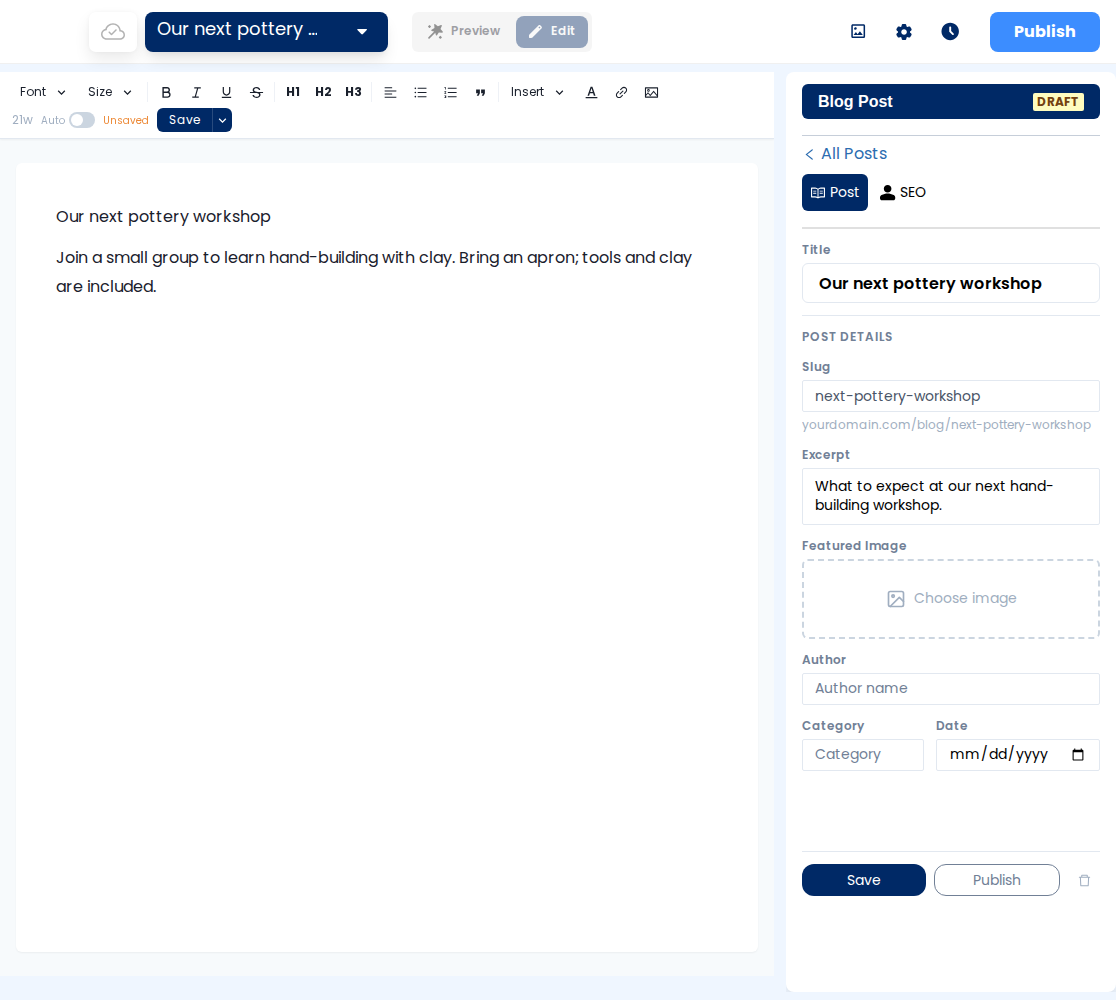
| Field | What to enter |
|---|---|
| Title | The reader-facing name of the article. Example: “Your first pottery class.” |
| Slug | The last part of its address, such as first-pottery-class. Check the full address shown below the field. Changing the slug of a live post changes its address after publishing. |
| Excerpt | A short summary for the archive listing. It does not replace the article body. |
| Featured Image | The image used by layouts that display a post's featured image. |
| Author | The person or business credited for the article. |
| Category | A topic label, such as “Studio notes.” Use consistent spelling for posts in the same category. |
| Date | The date associated with the post. This field is not a scheduled-publishing control. |
Set search information and preview
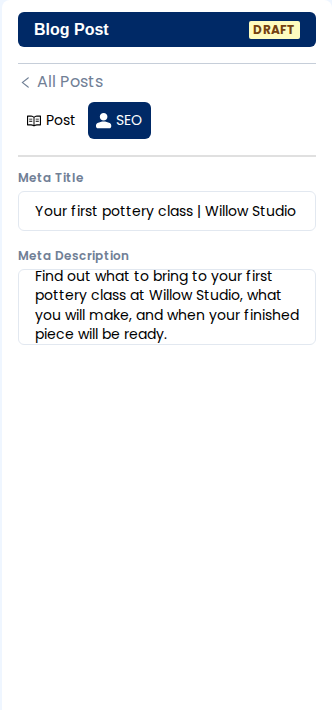
- Open the SEO tab in the post panel.
- Enter a Meta Title and Meta Description that describe this article.
- Select Save at the bottom of the panel.
- Select Preview in the top toolbar to check the post with its shared layout.
Check headings, links, image sizes, and the text in Preview. Select Edit to return to the writing view.
Make the post public
- Save the body and post details, and wait for saving to finish.
- Select Publish at the bottom of the post panel. The post's status changes from Draft to Published, making it eligible for the website's next publish.
- Select Publish in the top-right website toolbar. Review the website and domain, then complete website publishing.
- Open the public blog archive and the post's address. Confirm that the post is listed and its latest content appears.
Website publishing includes the latest versions of every page and every post marked published. Review other pending website changes before that final action.
If the post is missing or outdated
- Missing from the public blog: check that the post is marked Published, then publish the website. Saving a draft does not include it in the public blog.
- Old text still appears: save your changes, publish the website again, and reload the public address.
- The old link stops working: check whether the post slug or blog URL changed. Use the address currently shown under Slug.