Upload images to a site's media library so you can reuse them on pages and in blog posts. The media library is specific to the site you have open.
Open the media library
- Open the site from Your Sites.
- In the top toolbar, select the picture icon labelled Media Manager.
- Check that you are in the intended site before uploading. The dialog shows the files in that site's library.
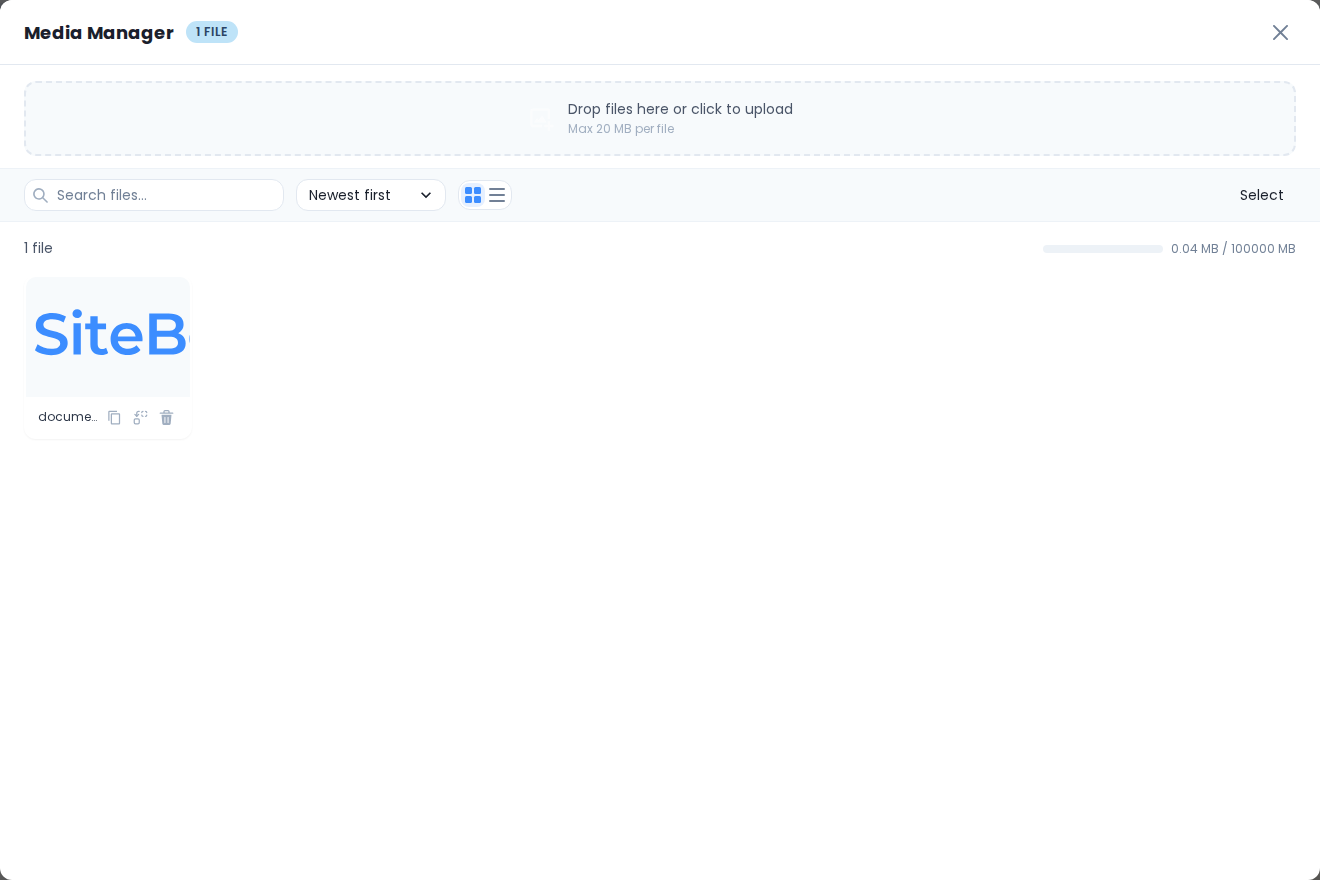
Upload a file
- Select Drop files here or click to upload, or drag files into that area.
- Choose the files on your computer. The upload area displays the per-file size limit.
- Wait until the file appears in the library. If an error appears, check the file type, file size, and available storage before retrying.
Use an image with enough detail for its display size. Uploading a much larger file does not improve a small thumbnail and makes the file slower to download.
Use an image in a blog post
- Open a blog post in Edit mode and place the cursor where the image belongs.
- Select Image in the formatting toolbar.
- Select the uploaded file in Select image, then select Select.
- Save the post body. To use the image on a listing card instead, choose it under Featured Image in the post's right panel.
See Add images to a post for image width and featured-image steps.
Review the result
- Preview the page or post and check the image on a narrow screen.
- Check that the image is relevant and that any text inside it remains readable.
- Publish the website when you want visitors to see the change.